
Went to Goodwill the next day and bought a $5 dress. I've had a dress of my grandma's for about 2 weeks now that I need to alter to fit me.... but I'm a bit terrified of ruining something that I actually care about. So I got this. I learned a lot of things about myself and sewing. First, sewing makes sense to me. Second, I always pin things in the wrong direction and am not above actually sewing them wrong.
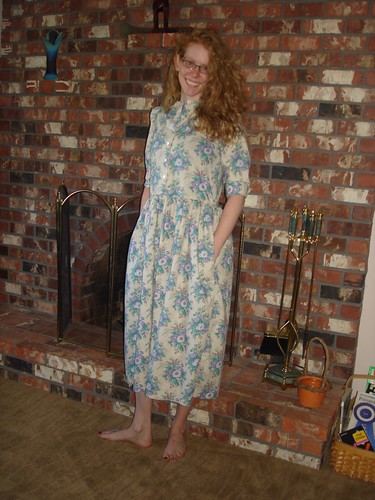
Here's the before:
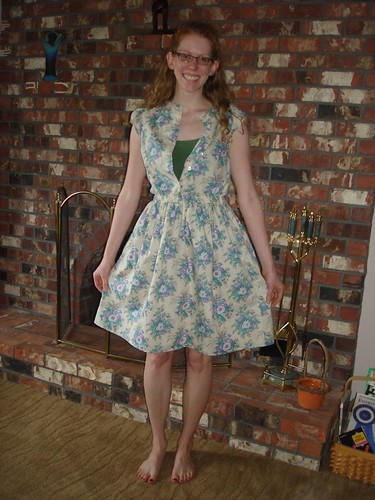
Here's the after:
What I did:
1.) made cap sleeves from the existing long sleeves. I dislike long sleeves. I love cardigans. Also, it had a cute puff that I didn't want to cut off.
2.) It was a size too big for me, so I made an elastic waistband instead of making it more fitted. It has pockets! I didn't want to have to fiddle with making those fit if I took it in on the sides.
3.) Chopped off 7 inches from the bottom. It's about an inch or so shorter than I wanted, but that's because blind hems confuse me- I definitely have enough hemmed up to get it an inch longer. I'll probably take it out and lengthen it a bit... but later. Most of what I've done is taking out stitches, not actually sewing. The awesome part is that I didn't have to cut a pattern. I did become quite intimate with my seam ripper though.
4.) I have yet to tackle the neckline. It's not so bad when it's unbuttoned and I have about 3 camis that match the colors in it. I do want to practice on a neckline, so I might fix that later.
Best part? I'm proud of it. I completed something.


